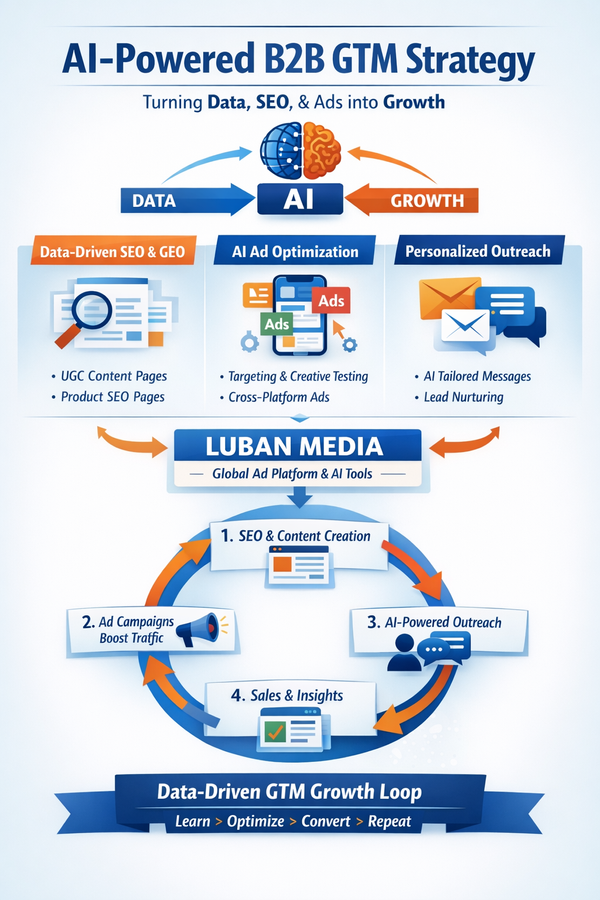
How to use Shopify for programmatic SEO

🧱 Step 1: Create a Liquid template (page template)
- Open the Shopify admin
👉 “Online Store > Themes > Edit Code”
- Click on the /templates folder on the left
👉 Click “Add New Template”
- Select “page” as the type and enter “seo-template” as the name
👉 It will create a new file: page.seo-template.liquid
- Paste the following code:
liquidCopyEdit{% layout 'theme' %}
<section class="seo-page">
<h1>在 {{ page.metafields.custom.city }} 吃 {{ page.metafields.custom.food }}</h1>
<p>{{ page.metafields.custom.description }}</p>
<div class="html-body">
{{ page.content }}
</div>
</section>
Notes:
- city, food, and description are the custom fields (metafields) you will define later in the CSV file
- age.content will render the HTML body content of the page
🧾 Step 2: Prepare the Matrixify CSV file
You can use Excel or Google Sheets to write content. Here is a minimal viable example:
| Title | Handle | Template | Body HTML | Metafield: custom.city | Metafield: custom.food | Metafield: custom.description |
|---|---|---|---|---|---|---|
| Best Pizza in Beijing | best-pizza-in-beijing | page.seo-template | |
Beijing | Pizza | Authentic Italian pizza fused with local flavors |
| Best Pizza in Shanghai | best-pizza-in-shanghai | page.seo-template | |
Shanghai | Pizza | Pizza place recommended by Shanghai locals |
Description fields:
- Title: Page title
- Handle: Page link URL (will generate /pages/handle)
- Template: Enter the name of the template you just created: page.seo-template
- Body HTML: HTML body text
- Metafield: custom.xxx: Your custom field (must be defined in advance in the Shopify backend)
⚙️ Step 3: Add custom fields (Metafields) in Shopify
- Shopify Backend
👉 “Settings > Custom Data > Pages”
- Add the following fields:
- city (text field)
- food (text field)
- description (multi-line text)
📌 Note that the namespace is custom (default)
🚀 Step 4: Upload the CSV file (using Matrixify)
- Install the Matrixify app (https://apps.shopify.com/matrixify)
- After opening the app:
- Upload your CSV file
- Select the “Pages” import type
- Click “Import”
Wait a few minutes, and all pages will be created automatically.
🌐 Step 5: Visit your SEO page
Open these URLs to see the results:
https://yourstore.com/pages/best-pizza-in-beijinghttps://yourstore.com/pages/best-pizza-in-shanghai
✅ Summary: Process overview
| Step | Action |
|---|---|
| 1 | Create Liquid Page Template |
| 2 | Define Metafields Custom Fields |
| 3 | Prepare and Upload CSV with Matrixify |
| 4 | Automatically Generate Pages and Bind Templates |
| 5 | Page Goes Live, Adapts to SEO Landing Page Requirements |
📌 CAPGO AI Service Model:
During the collaboration process, CAPGO will provide page structure recommendations and content field requirements. The client team will then complete the design and configuration of the Shopify template (such as Liquid templates and Metafields settings) according to the requirements.
Subsequently, CAPGO will generate large-scale SEO content based on the template structure and deliver it to the client via CSV or API for bulk import into Shopify, enabling efficient programmatic landing page construction.